The notification center in Freelo (the bell icon) works on a similar basis as, for example, on Facebook. When you have new notifications there is a red badge with a number.
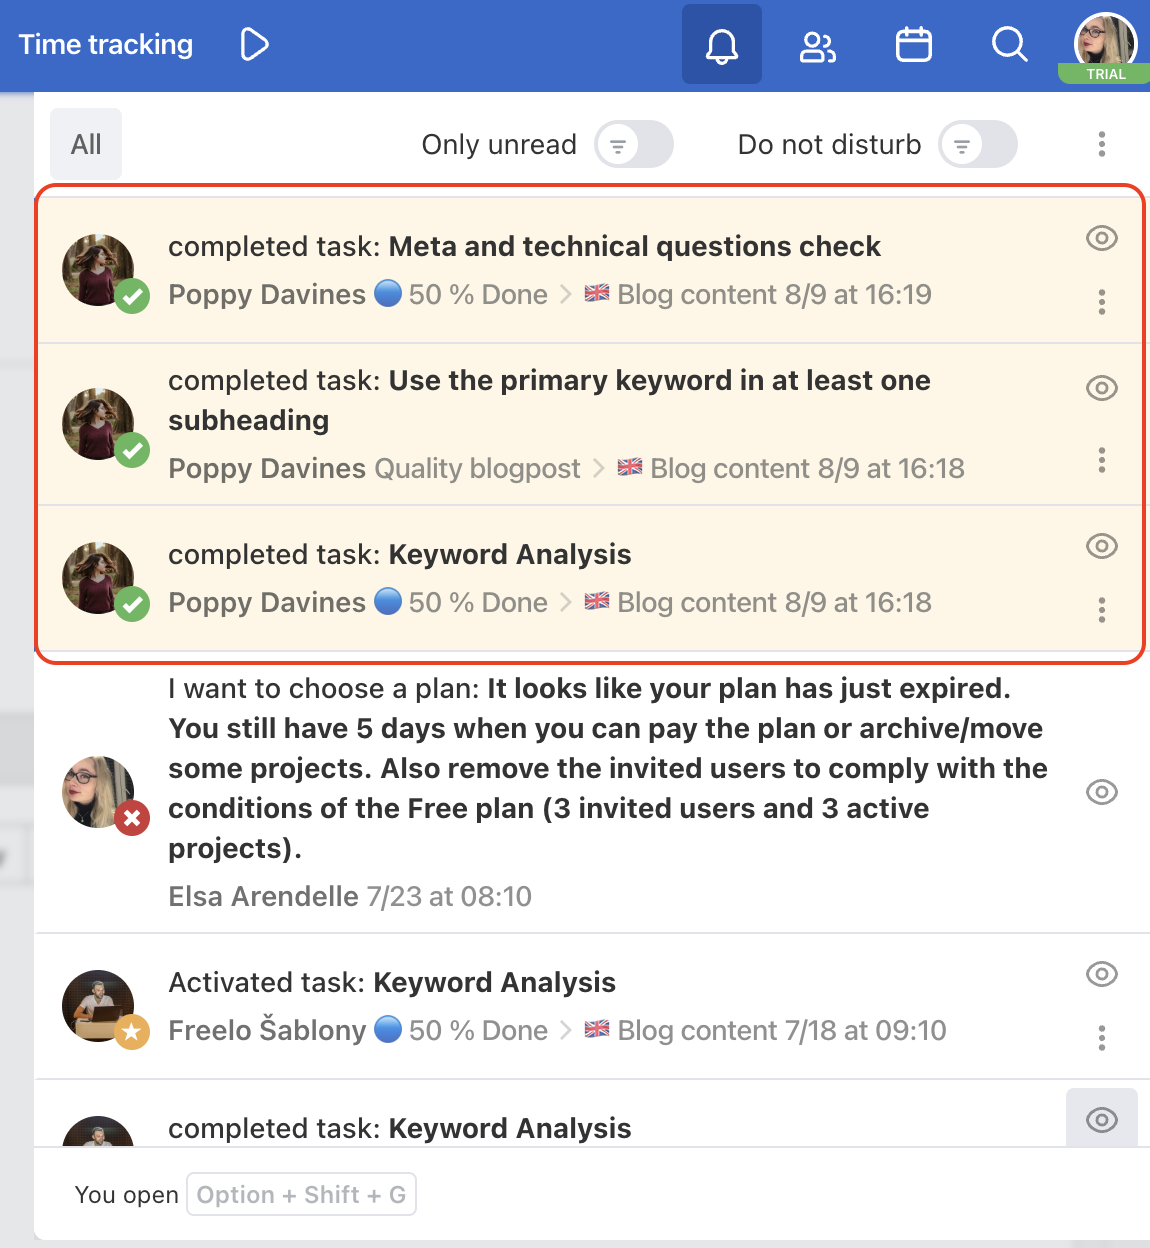
You can mark them as read or unread in case you want to return to them later. The unread notifications are yellow.
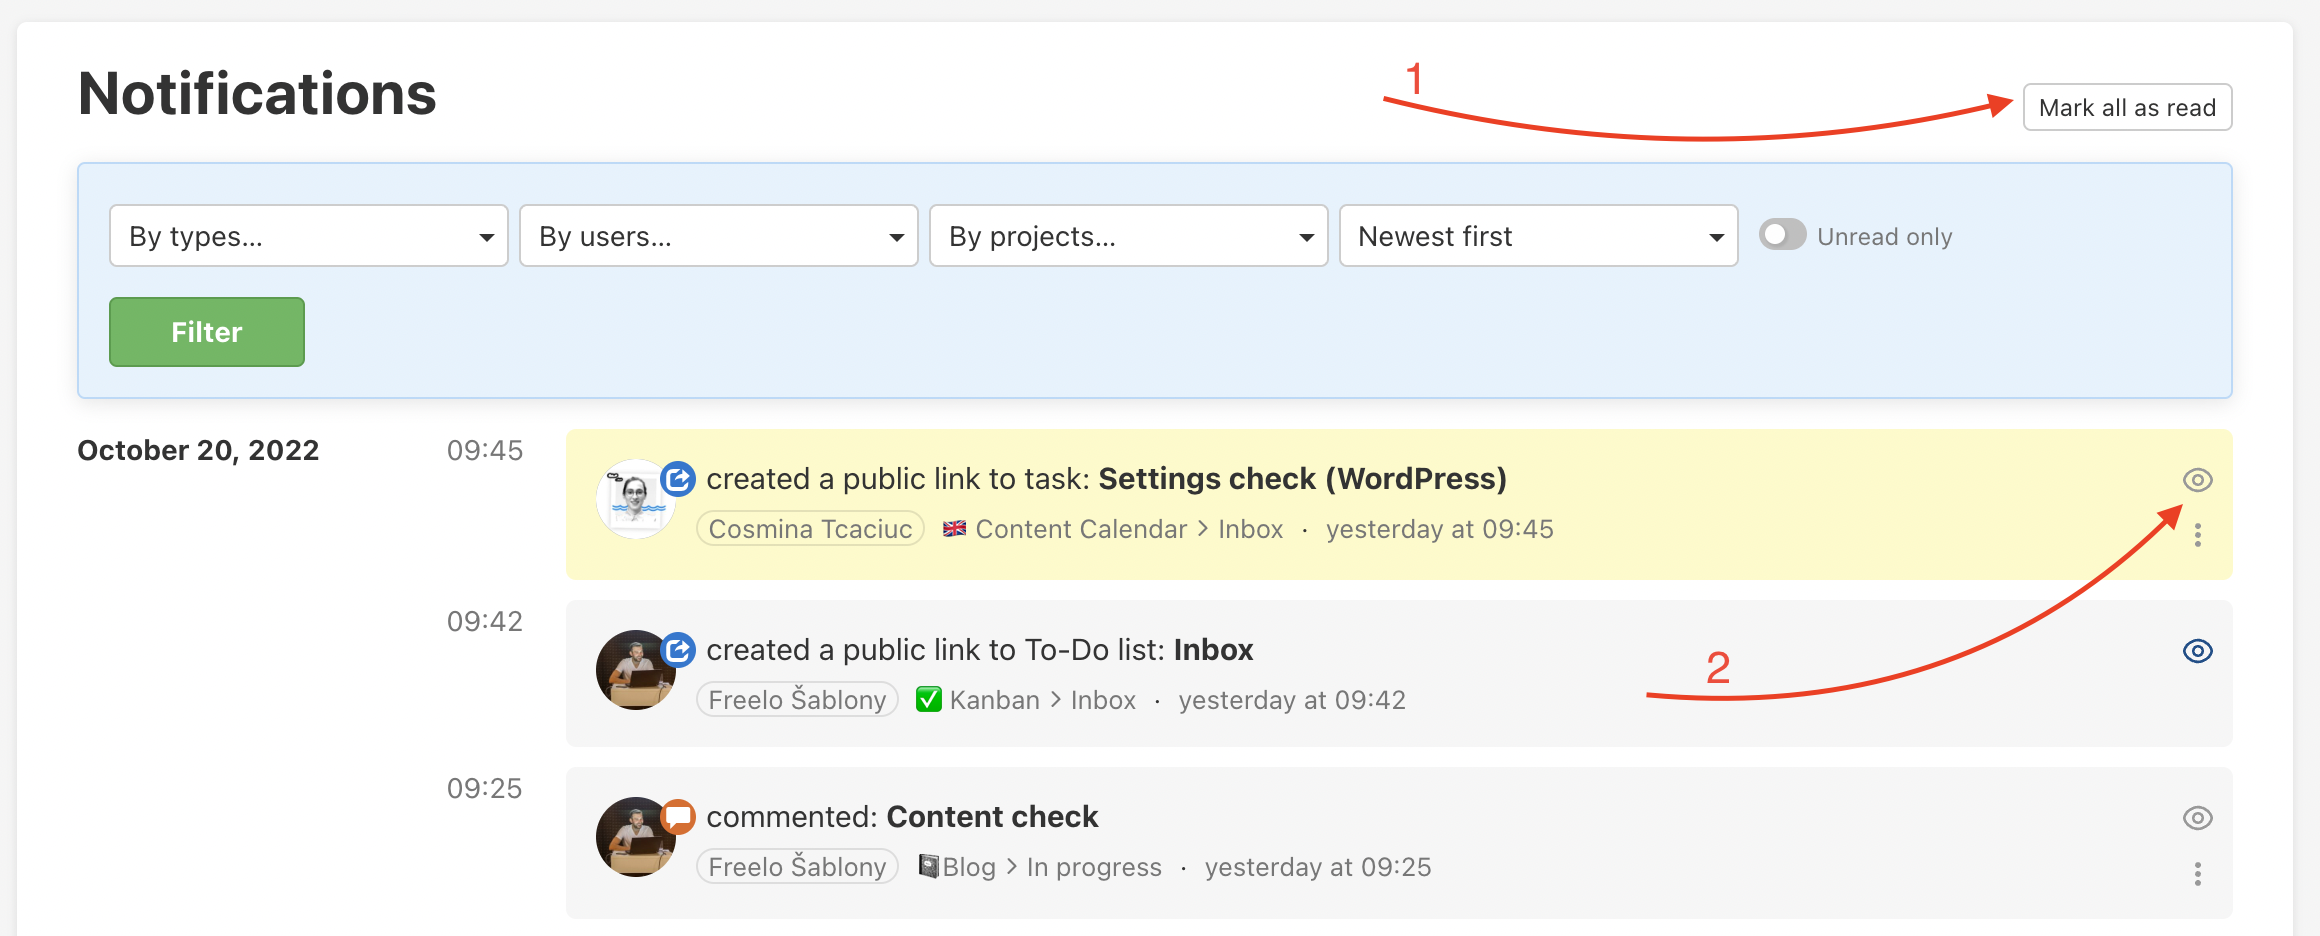
Click the eye icon to mark the notification as read (white) or unread (yellow).

Each notification has a three-dot menu where you can set:
- Task or subtask following
- Task or subtask reminder
- Add task or subtask to My task priorities
When do you get notifications?
- When someone assigns you a task or subtask.
- When someone comments on a task you created.
- When someone updates a task you created (changes the due date or assigned user).
- When someone comments on a task you are following.
- When someone mentions you in a comment.
- When you are invited to a project.
- When you are appointed Project manager or Admin.
- When you are marked as a sub/task follower.
- When someone chooses to notify you of a comment edit.
When do you become a sub/task follower?
You automatically become a task and subtask follower when you:
- Create a task or subtask.
- Comment on a task or subtask.
- Someone assigns you a task or subtasks.
- When someone adds you as a follower.
- When you click Start following or Follow.
Keyboard shortcut to open a modal window
Do you want to see details of the task or subtask directly from the notification center? Use the keyboard shortcut to open the modal window with a discussion and other details.
Place the mouse over a notification and click Q. Open a modal window with task or subtask detail. There you can add comments, and attachments, change the due date, assign a user, etc.
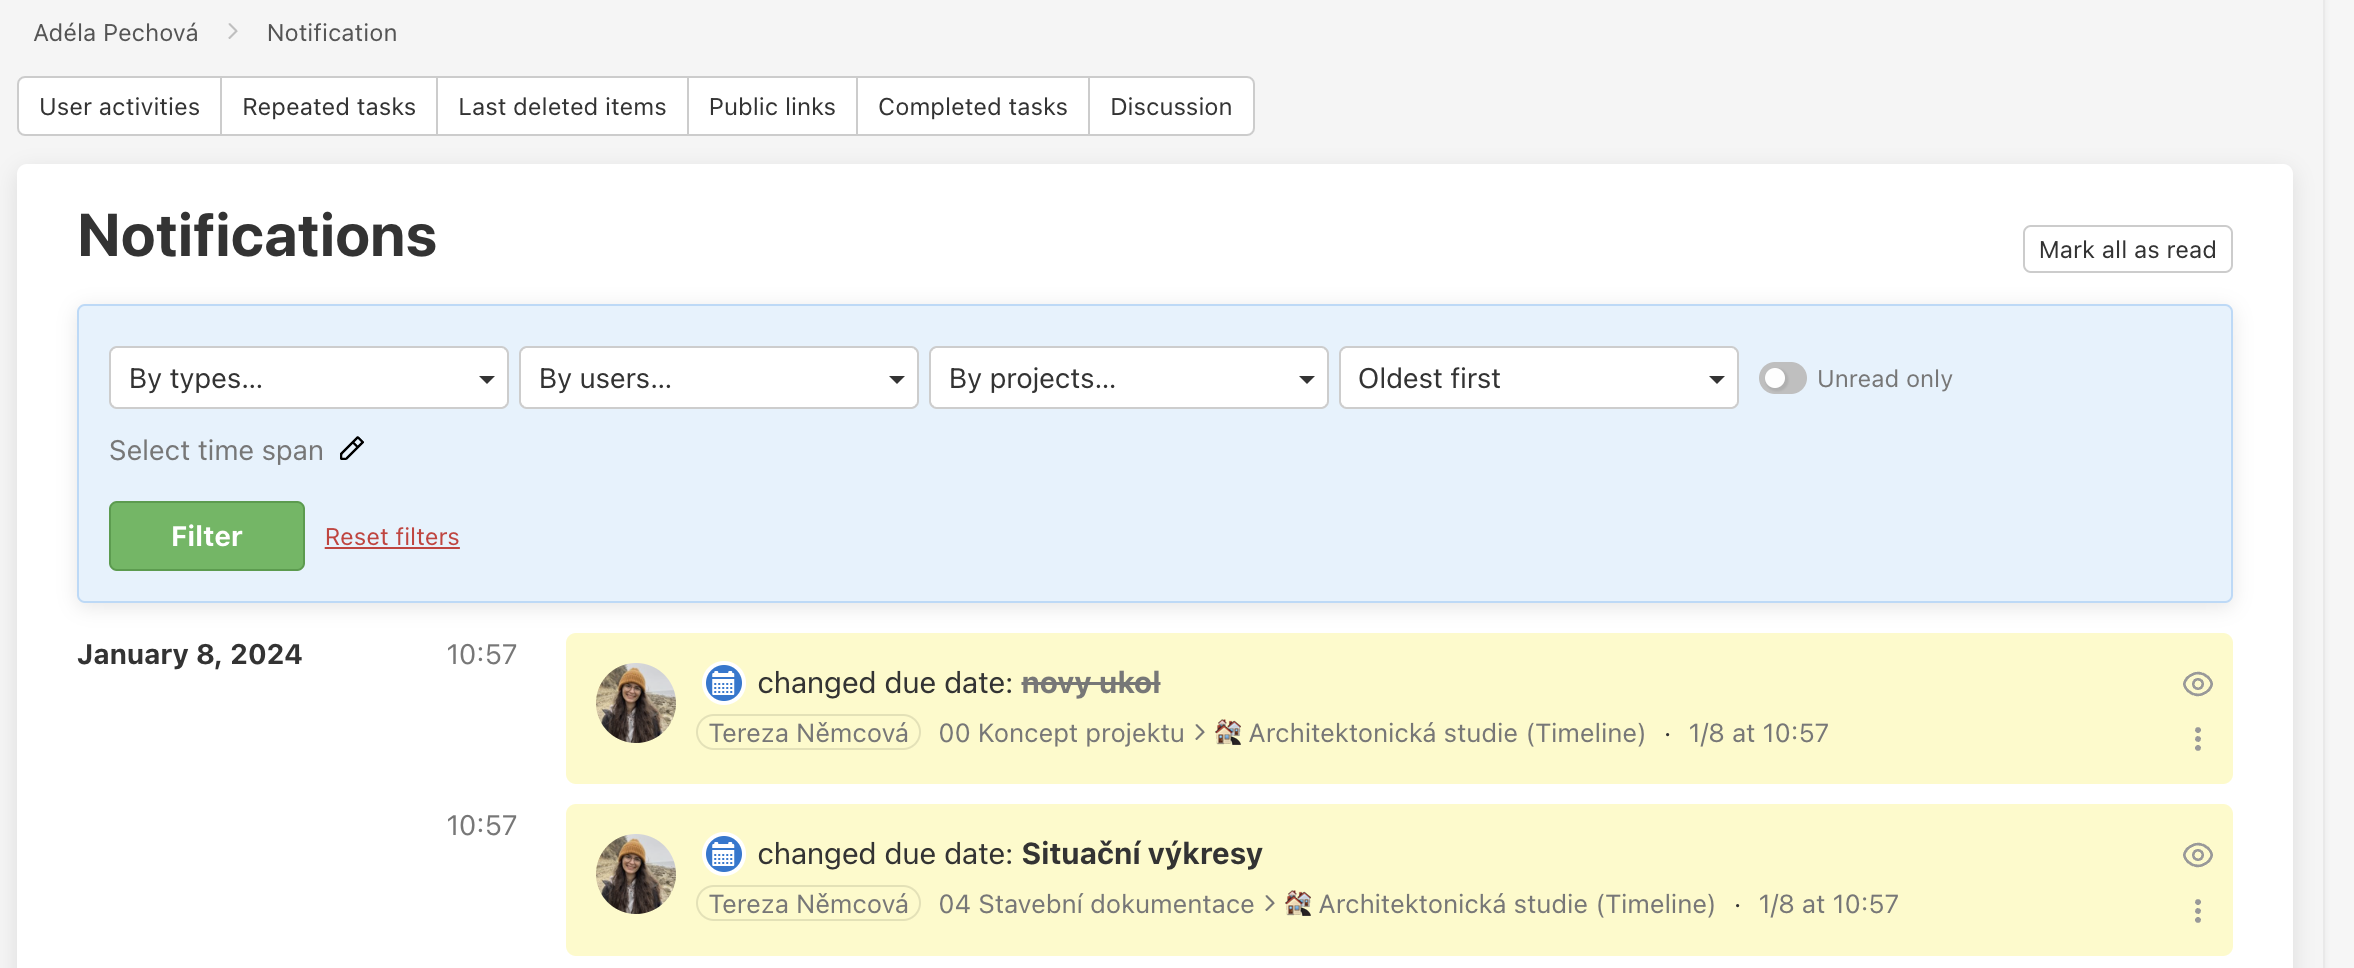
Filter notifications
Go to the bell icon and click All.

The following page offers many filters for notifications. So you can check the last completed sub/tasks, changed due dates, or deleted tasks via By types…
Use filters when you are looking for particular activities:
- By types…
- By users…
- By projects…
- From oldest to latest…
- Within a certain time span…
Select time span when filtering notifications
When filtering notifications, you can pick only certain days from which you want to see the notifications. Simply do so by clicking Select time span.
Read and unread notifications
- On the page All notifications you can mark all notifications as read in bulk. Click Mark all as read in the upper right corner.
- Also, you can mark the notifications as read or unread via the eye icon, one by one.
Notification settings
Time restrictions or (temporary/permanent) disabling of notifications
In case you use Freelo for your job, you may want to limit notifications to your work hours. Freelo has an easy solution for these cases! Just select the times you want to receive notifications in the Notifications section of Settings.
If you receive a notification of the time limit, the Freelo notification bell stays quiet, doesn’t show you the notification and you can enjoy your time off undisturbed. When you get back to work, just click the notification bell and you’ll see the muted notifications highlighted in yellow.
Notification for projects
In Freelo you automatically receive notifications for all projects. If you want to receive notifications only for some projects, go via your profile to Settings > Notifications > Notifications for projects at the bottom of the page. Turn on the checkbox Only for some projects and select the projects you want to receive notifications from. Don’t forget to save your new settings!
Turning on selected notifications
Set which notifications you want to go to your bell exactly as you need them. Go to Settings > Notifications > What types of notifications do you want to receive? at the bottom of the page.
Notification types are sorted into categories:
- Discussion
- Tasks
- Files
- Notes
- Other
